

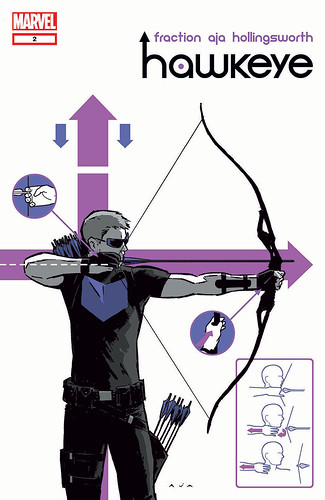
The primary reference photo was this cover from the ongoing Hawkeye monthly, drawn by David Aja
Step-by-step tutorial below
1) Print a copy of the pdf chevron template that I've uploaded here. It should be to scale in landscape mode on an 8.5"x11" piece of paper, but I've also included a measurement that shows how large an inch should be. Cut out the template.
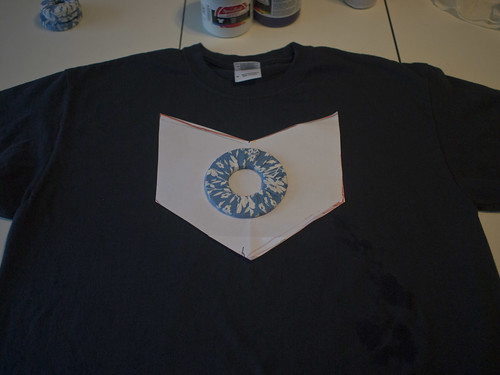
2) Pre-wash a black cotton t-shirt. Place the template on the t-shirt, about 2"-3" from the neck edge at center front. This template was made for a generic craft store shirt, size adult medium. It's going to be worn by Mike, who normally wears men's large t-shirts, but we wanted this to be tighter. The circular thing in this photo is my pattern weight.
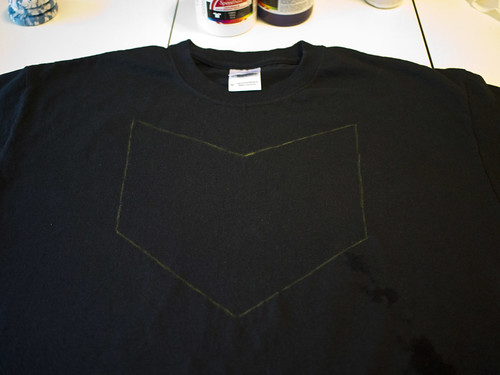
3) Trace around the template in light colored tailor's chalk. Remove the template.
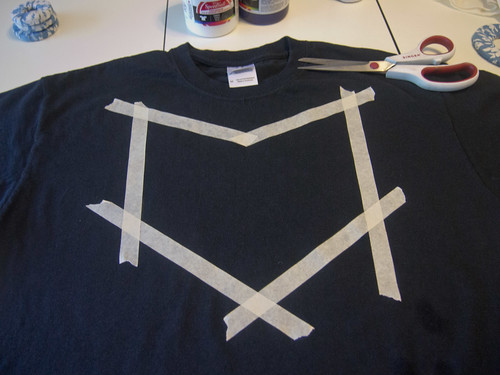
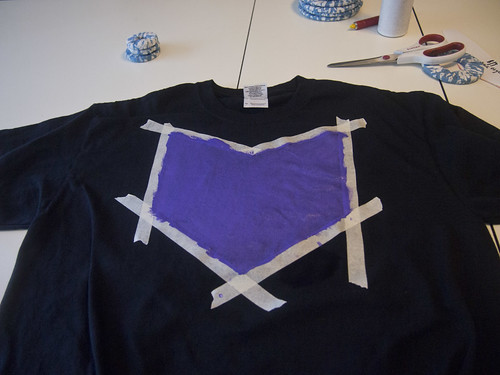
4) Tape around the chalk outline using masking or blue painter's tape. Make sure to press the tape down firmly on the fabric, to avoid paint seeping underneath.
5) Put a piece of cardboard inside the t-shirt, under where you are going to paint, to keep the paint from bleeding through to the back. Paint inside the taped shape using purple fabric paint and a foam brush. I used standard Speedball fabric screen printing ink, violet (color 4550) mixed with white at about a 2:1 (purple:white) ratio. You could also use fabric paint from the craft store, but I find that the screen printing ink is more durable in the wash. You will probably need two coats.
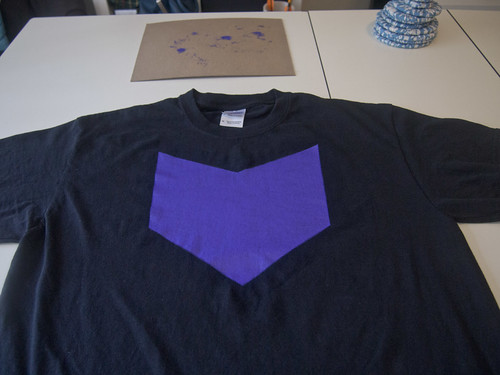
6) After the paint is dry, carefully remove the tape. Brush off any remaining chalk marks. Heat set the paint using an iron according to the paint manufacturer's directions. Done!
No comments:
Post a Comment