
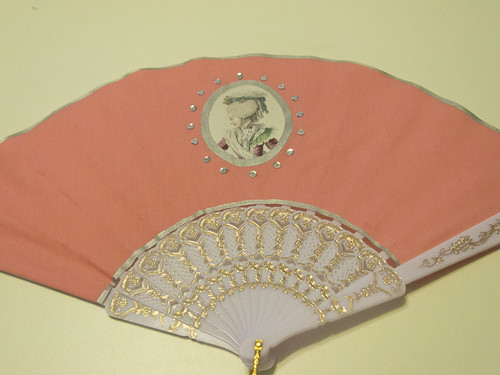
Here is the result
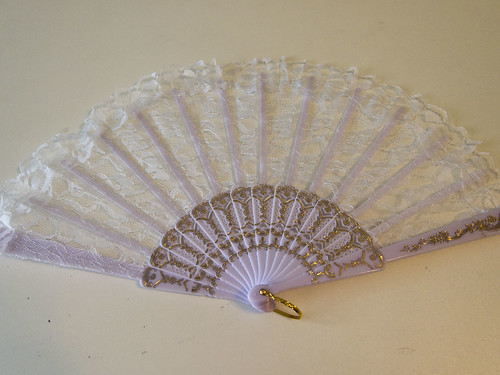
I started with another cheap plastic and lace wedding favor fan. The lace tears off really easily.
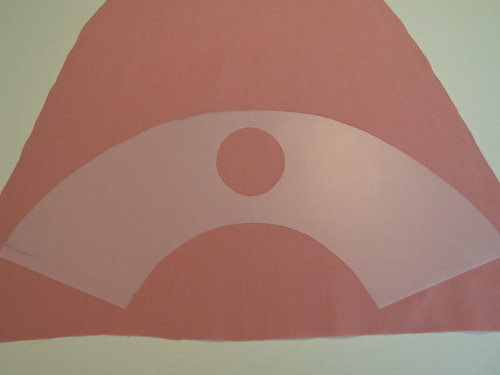
Then I cut out my fan-shaped stencil, using a plastic sheet that is sold especially for stencil-making (see the section in the craft store with pre-cut stencils for painting on walls)
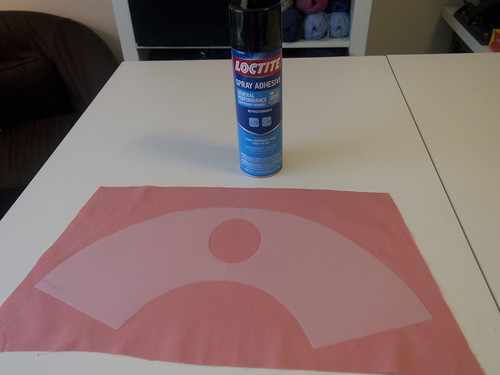
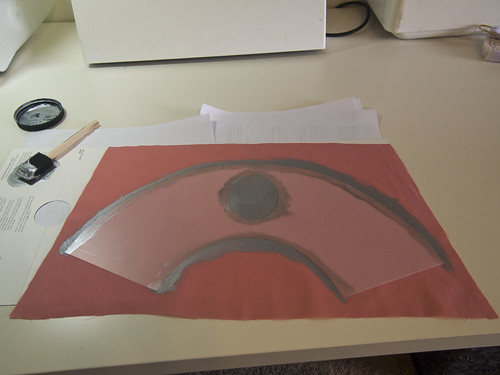
I stuck the stencil to my fabric temporarily using spray adhesive (you only use a light coat on the plastic so that it can be peeled off later)
Then I painted my stencil using opaque screen printing ink and a foam brush
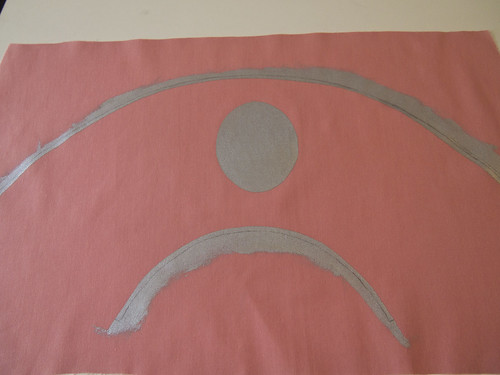
After peeling off the plastic stencil, letting the paint dry, and heat setting it, I penciled in lines where I wanted to cut out the final fan leaf
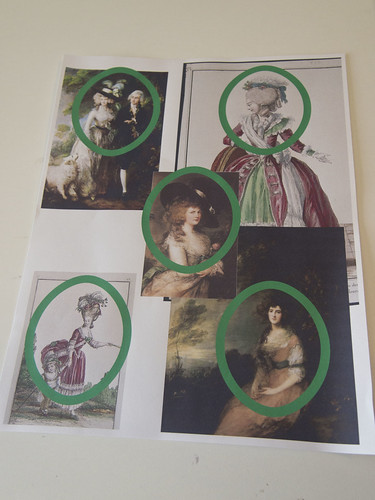
Then I had to choose a portrait to put in the middle of my center oval. These were different candidates that I tried out in Adobe Illustrator. The green ovals are the size of the border that will remain once I've placed my portrait on the fan. Big shout out to Dames a la Mode, which was where I got the fashion plates in the top right and bottom left corners. I ended up using the fashion plate in the top right. Thanks for posting those plates, Taylor!
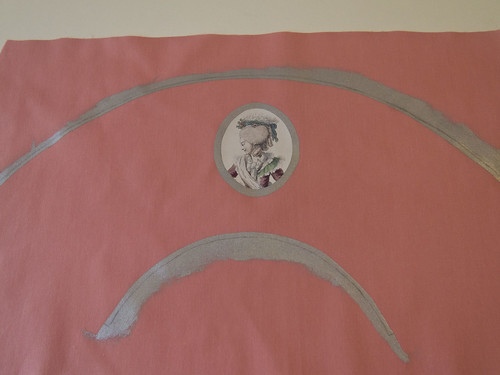
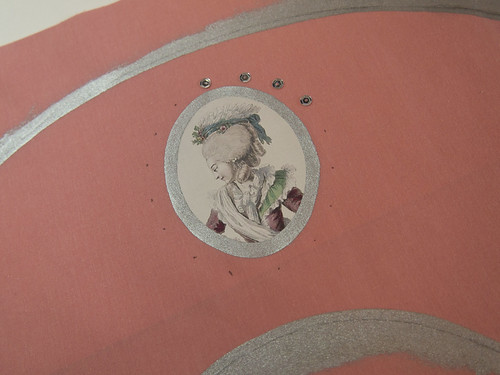
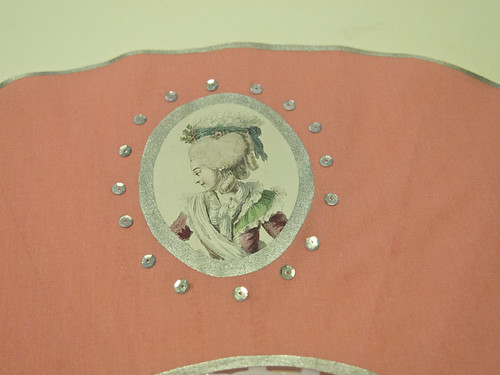
I printed my chosen portrait on an iron-on transfer (opaque, for dark fabrics) and attached it to the fan
Then I glued sequins around the portrait for some bling, using gem tack glue
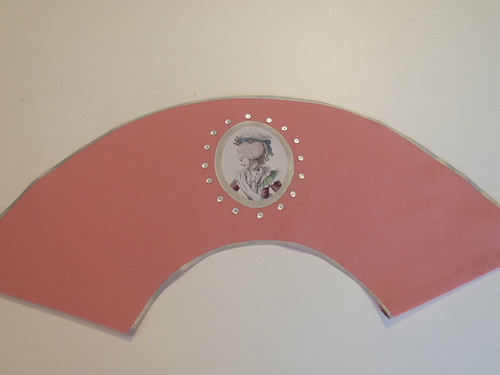
The fan leaf all cut out, ready to be glued to the fan sticks
Finished!
No comments:
Post a Comment