Showing posts with label fans. Show all posts

Sunday, November 3, 2013

Ivory Silk Fan

Bam! I've had this cut out but unfinished since last spring. But not anymore! Upon seeing that the November challenge in Trystan's accessories-a-long was fans, I knew I had to finish this UFO. So I pulled out the silk fabric, sewed on the sequins, and glued the leaf to the fan sticks.

Finished fan
Finished Fan

Leaf before attaching the fan sticks
Fan After Sewing on Sequins

The Accessory: Ivory silk fan
Historical Period: Late 1700s (for use with 1780s and 1790s outfits)
Outfit It Accessorizes: I am planning on using this with my navy zone front
Materials Used: Ivory silk taffeta, plastic fan sticks repurposed from a wedding favor fan, screen printing ink, an iron on transfer, 6 mm sequins, cotton thread (for sewing on the sequins), and gem tac glue (for attaching to the fan sticks)
Techniques Used: Stenciling fabric, attaching iron-on transfers, sewing on sequins, gluing on fan sticks

(PS--if you want to make your own fan of this style, I have a tutorial posted here.)

Monday, October 15, 2012

Another Fan

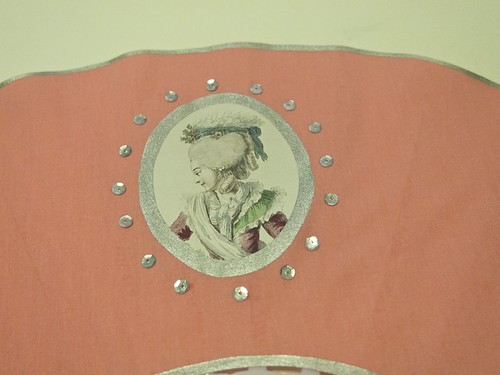
I've been unexpectedly busy because of work, but here is a hand fan I finished today. I had the base design printed on cotton fabric by Spoonflower, which is an idea that the lovely Carly thought up. The original image is from the British Museum, here. I had to resize it to match the fan template I have been using, but Carly has a print of the same image for sale (in a slightly different size) here.

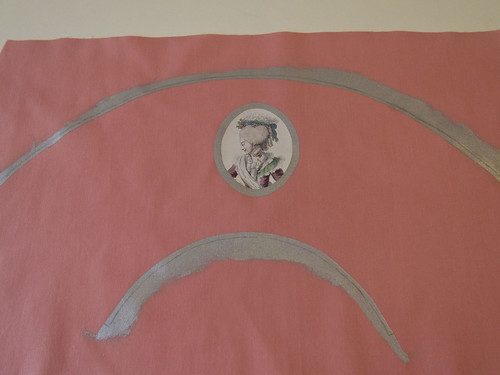
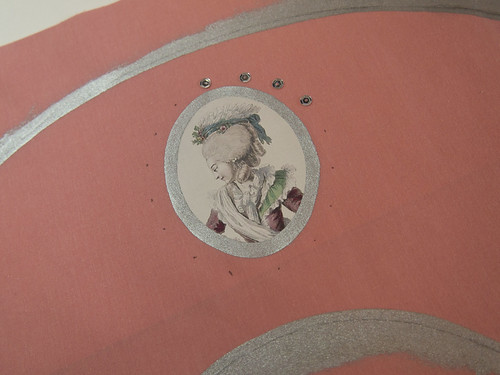
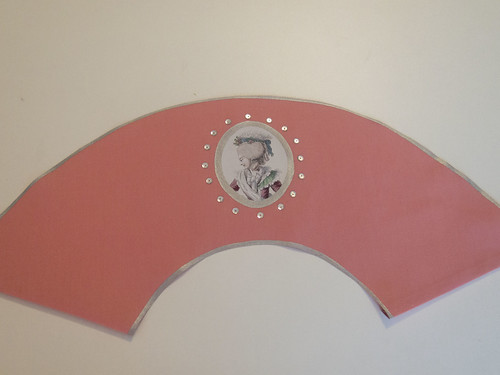
After getting the printed fabric, I painted the edges with silver screenprinting ink to simulate gilding. Then I sewed large sequins around the central portrait. The final step, of course, was to glue the fan leaf to the sticks using my trusty Gem Tack glue.

FanPA145396

FanPA145397

FanPA145398

Monday, September 10, 2012

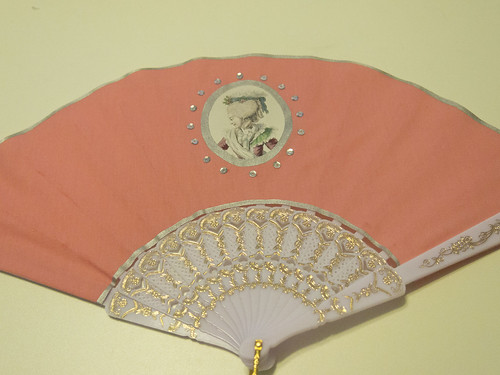
Pink 18th C Style Fan

I have continued to experiment with making 18th C style fans. I wanted to try a method that allowed me to reuse the stencil, as opposed to my freezer paper tutorial I posted about a couple months back. Then I saw the drool-worthy, fabulous work of The Treasures of Dawn, particularly her decoupaged portrait fans. I thought I could figure out how to make something similar, but with my fabric stenciling method. (BTW, check out The Treasures of Dawn blog for some of her other great fan-making projects. Beautiful!)
Here is the result
P9083985
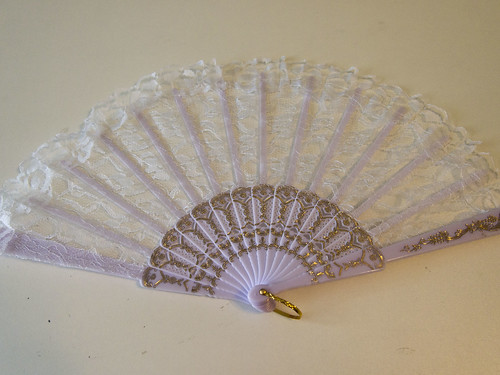
I started with another cheap plastic and lace wedding favor fan. The lace tears off really easily.
P9083955
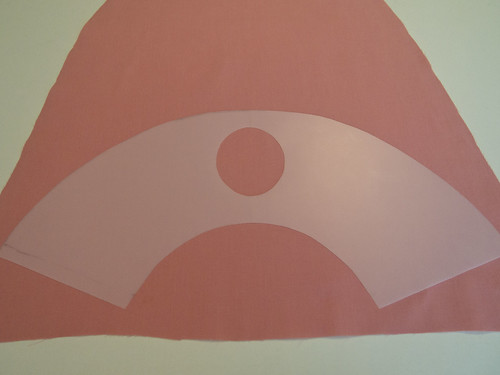
Then I cut out my fan-shaped stencil, using a plastic sheet that is sold especially for stencil-making (see the section in the craft store with pre-cut stencils for painting on walls)
P9083958
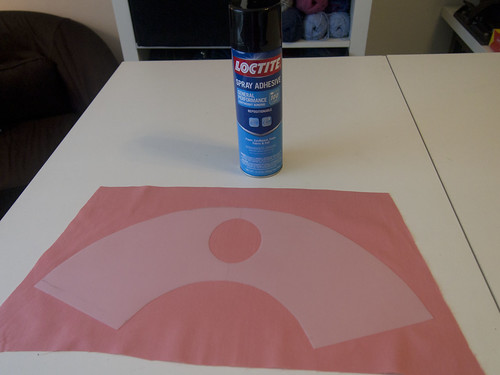
I stuck the stencil to my fabric temporarily using spray adhesive (you only use a light coat on the plastic so that it can be peeled off later)
P9083959
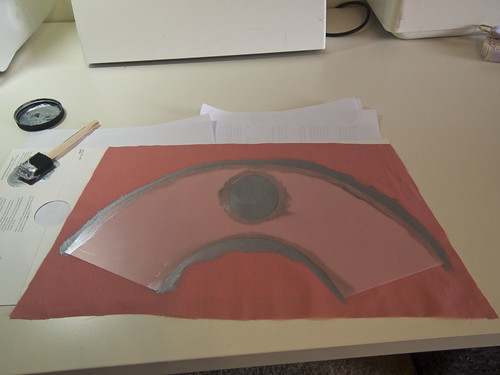
Then I painted my stencil using opaque screen printing ink and a foam brush
P9083960
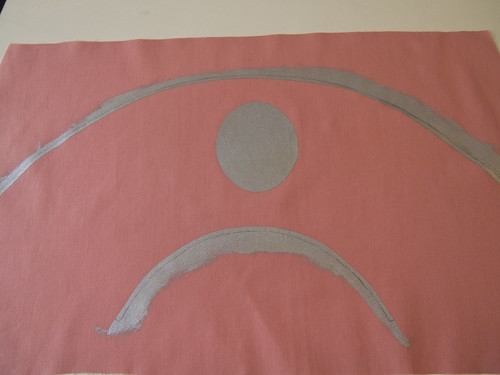
After peeling off the plastic stencil, letting the paint dry, and heat setting it, I penciled in lines where I wanted to cut out the final fan leaf
P9083979
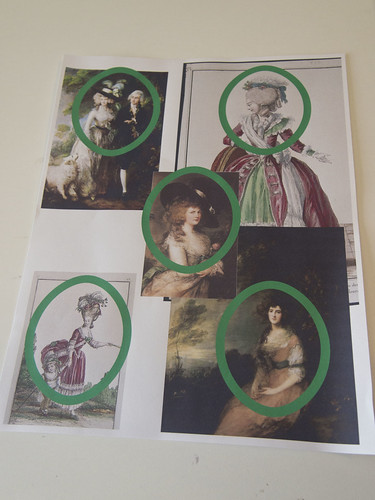
Then I had to choose a portrait to put in the middle of my center oval. These were different candidates that I tried out in Adobe Illustrator. The green ovals are the size of the border that will remain once I've placed my portrait on the fan. Big shout out to Dames a la Mode, which was where I got the fashion plates in the top right and bottom left corners. I ended up using the fashion plate in the top right. Thanks for posting those plates, Taylor!
P9083964
I printed my chosen portrait on an iron-on transfer (opaque, for dark fabrics) and attached it to the fan
P9083980
Then I glued sequins around the portrait for some bling, using gem tack glue
P9083981
The fan leaf all cut out, ready to be glued to the fan sticks
P9083984
Finished!
P9083987

Friday, July 27, 2012

18th C Fan Project

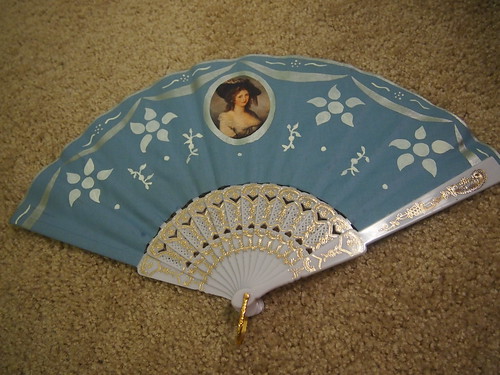
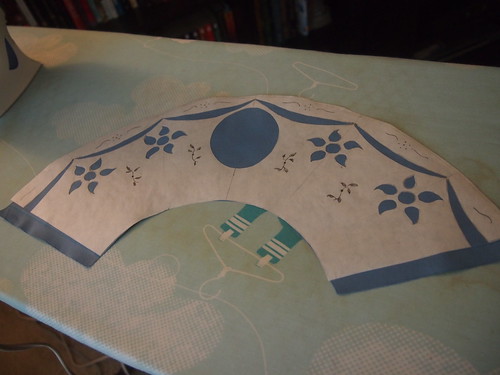
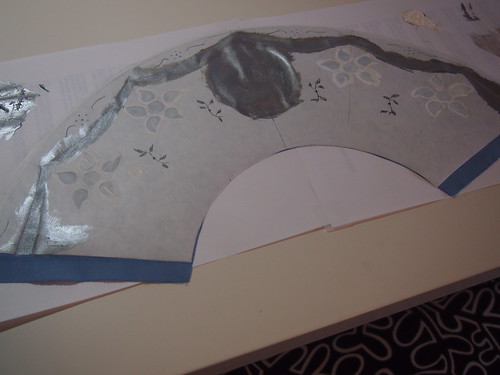
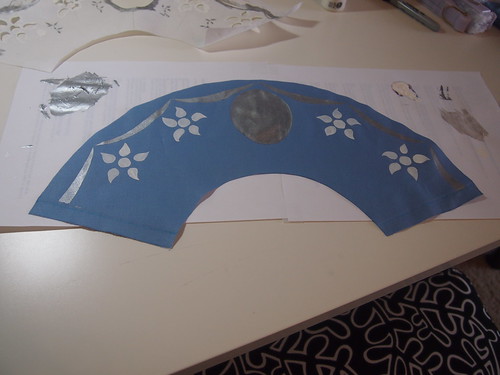
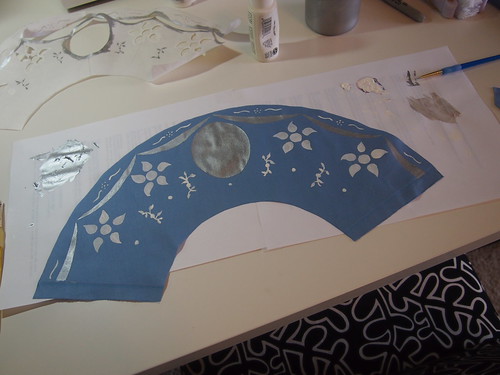
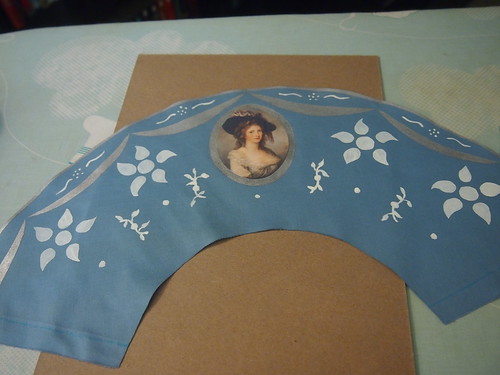
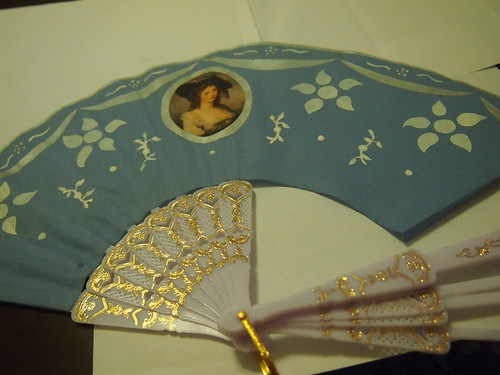
Inspired by my friend Carly, I've been working out ways to make my own 18th C style fans. I may experiment with having some designs printed on fabric, like Carly did, but I also wanted to see if I could paint my own. I'm pretty pleased with the results, and I even remembered to take photos of what I did. So here we go, with photos.

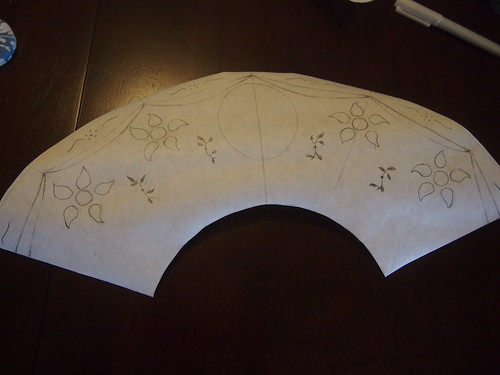
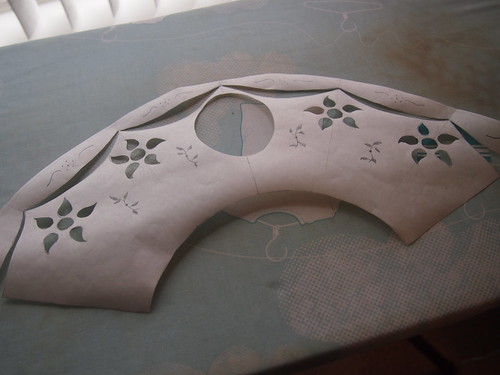
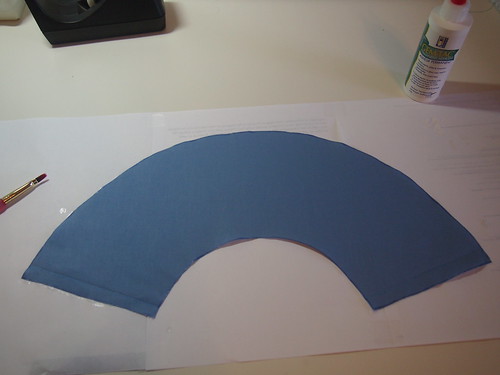
The finished result. My inspiration was this late 18th C fan in the collection of the British Museum. It has a floral printed border on a blue ground, all centered around a portrait of Charles James Fox, the Whig politician. I figured I could paint a similar floral border and then use an iron-on transfer to put a picture in the middle. I chose a self-portrait of one of my favorite female artists, Angelica Kauffman. She was one of the first women members of the Royal Academy, and a super stylish dresser. P7272955 So here's how I made it. First I got out my roll of freezer paper, which is what I use to make stencils that are applied on fabric. Freezer paper is like wax paper, except there is only wax on one side. You can get it at some grocery stores and sometimes at craft stores (although the cheap, big rolls usually have to come from the grocery store). I drew the design I wanted for the fan on the paper side. P7222839 The next step was to cut out my design to make the actual stencil. I used a small pair of curved scissors and an exacto to do this. I didn't bother cutting out the tiny scrolls and flowers, as I was going to freehand those. P7222845 I then prepared my fabric. After cutting out the fan shape, I used Gem Tack fabric glue to stop the edges from fraying. I left a seam allowance on the left and right sides. P7272847 Next I attached my stencil to the fabric. This is the great thing about freezer paper. You can iron it to your fabric! (I've only done this with cotton and cotton blends, note.) It will stick in place using the wax, so then you can paint your stencil. Later you can peel the paper off. P7272850 Finally to the painting! I painted the center oval and the swags in silver screen-printing ink, then the flowers in white acrylic. I prefer the screen-printing ink, because it doesn't run and bleed as much as regular acrylic craft paint. But the only white I had was the acrylic...so it's what I went with. P7272854 After the paint dried, I carefully peeled off the freezer paper. This is always nerve wracking, because I'm never sure it's going to look okay. But this time, so far, so good. P7272855 I then free-handed in some swirls and vines using white acrylic paint. The design needed to be filled in some more. After all the painting was finished and dried, I ironed the whole piece on both sides for several minutes to heat-set the paint. This is particularly important for the screen-printing ink, because it has a tendency to sit on top othe fabric and not really sink in. P7272856 Then I ironed on an inkjet transfer that I printed with Kauffman's portrait. I used a transfer meant for dark fabric, meaning it isn't transparent. P7272951 And finally, I glued the fabric to the fan sticks using Gem Tack. I got these sticks by taking apart a cheap wedding favor fan. It originally had a white lace leaf, which was very easy to remove. P7272953